How Municipal Building Inspectors Fax Correction Notices with Photo Evidence

You’re on-site, it’s 3:45 p.m., and the framing inspection just failed. The contractor needs the correction notice today so crews don’t lose tomorrow’s shift. Email is fine for discussion, but your department policy—and the GC’s compliance checklist—still requires faxed documentation. You’ve got photos on your phone, a PDF template on your tablet, and a narrow window to get it out, logged, and confirmed.
This post walks through a practical, field-tested way municipal building inspectors can assemble correction notices with photo evidence and fax them from a browser without heading back to the office. We’ll cover document prep, file formats, timestamps and labeling that stand up to disputes, and how to streamline confirmations for your record.
Field scenario: from camera roll to file-ready fax in minutes
Picture a mixed-use renovation with a deadline-laden schedule. You find:
- Missing hold-down anchors at gridline C3
- Incomplete fire caulking around pipe penetrations in Unit 407
- A noncompliant handrail height at the lobby stair
You capture photos: wide shot, close-up, and a third photo with a tape measure for scale. You annotate the close-up using your phone’s markup tool to circle the location. Back in the truck, you need to send a formal correction notice with those images attached, plus a cover page that lists permit number, job address, and re-inspection guidance.
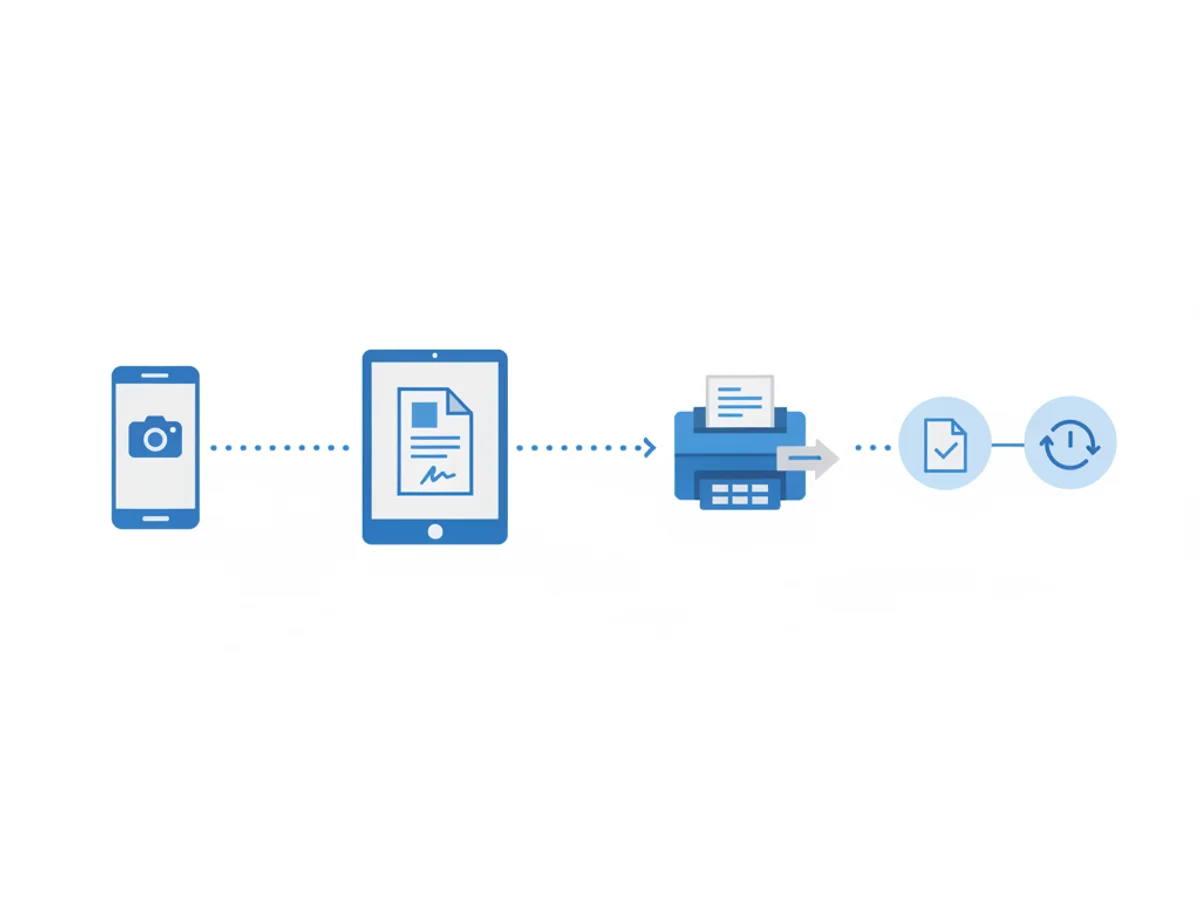
With browser-based faxing, you can do the whole package from Safari or Chrome on your phone or tablet. No app download required: upload the correction PDF and image files, add a professional cover page, and transmit. If you’re not set up with a standalone scanner, taking photos is fine—just make sure they read clearly in black and white, as many fax machines will print in grayscale.
Building a correction notice packet that holds up under scrutiny
Faxed corrections often become part of a project’s permanent record. They need to be clear, specific, and easy to tie back to the inspection. A solid packet usually includes:
A cover page with key identifiers: permit number, address, contractor contact, inspection type (framing, MEP rough, firestopping), date/time, and your inspector ID. The service includes professional fax cover pages so you can keep this clean and consistent.
A structured correction notice: one issue per section. Include code reference, location, required remedy, and re-inspection instructions. Keep the format consistent inspection to inspection so contractors know where to look.
Photo evidence: at least two angles. If possible, include one context photo (where the issue sits in the space) and one detail photo (the defect itself). If you’re citing dimensions, put the tape measure in the shot and ensure the numerals are legible.
An index or caption sheet: a one-page table that maps photo filenames to issue numbers, locations, and descriptions (e.g., Photo_03: Unit 407 Bath—pipe penetration at west wall, missing fire caulk; Ref: IBC 714). This simple page dramatically reduces back-and-forth.
Practical file prep tips
File formats that work: PDF for the correction notice, Word if you’re editing a template on the fly, and image files (JPG/PNG) for photos. This tool supports all three. If your photo count is high, consider dropping them into a single PDF to reduce multi-file juggling and preserve order.
Name files clearly: 2026-06-24_CorrNotice_Permit18472.pdf and 2026-06-24_Photos_SetA.pdf. Consistent naming helps your department’s digital filing and eases retrieval during audits.
Keep resolution readable: 150–200 DPI is usually enough for text and photos over fax. Very high-res images can bloat file sizes and slow transmission without adding clarity on the receiving end’s printer.
Add labels in the image: Use your phone’s markup tool to place a text label (Unit/Room/Gridline) and arrow. Avoid fluorescent colors that may wash out when converted to grayscale.
Sending the fax from the field (step-by-step)
You can send and receive faxes from any modern web browser—phone, tablet, or laptop. Because it’s browser-based, there’s no app required. Here’s a simple flow for an inspector:
- Open the service in your mobile browser.
- Enter the recipient fax number (often the GC’s office line or the site trailer’s MFP).
- Select a professional cover page and fill in the fields: job details, your contact info, and a concise summary of findings.
- Upload your files: the correction notice PDF first, then the photo PDF (or individual images), then the caption/index sheet if separate.
- Double-check order. If your tool shows a preview, verify page sequence and legibility—in particular, ensure the first page is the cover and the notice pages precede the photos.
- Send. Fax transmissions use TLS encryption en route, and you’ll receive a confirmation/delivery receipt you can file with the inspection record.
Pricing is straightforward: pay $4.95 one-time per fax or use a $10/month subscription if you’re sending regularly. There’s no free trial, so departments often start with a few one-off sends to validate the workflow and then move to a monthly plan during peak construction seasons.
Note: While transmissions are encrypted, this tool does not offer a BAA or formal HIPAA certification. For building departments that handle medical facility projects, coordinate with your agency’s compliance officer on what content may be faxed and how records are stored.
Crafting correction language that avoids disputes
Clarity in wording prevents repeat visits and change-order friction. Consider this pattern:
- Issue ID: Create a short code like FR-01 for Framing Issue #1. Put it on the notice and in the photo caption.
- Location: “Gridline C3, Level 2, east shear wall, 6 ft from north corner.” Avoid vague references like “near stair.”
- Code reference: Cite the exact section (e.g., IBC 2308.6.1 or local amendment), and if applicable, the approved plan sheet detail (S-12, Detail 4).
- Required remedy: State the fix unambiguously (e.g., “Install two Simpson HDU5 hold-downs with 5/8-in anchor bolts embedded 7 in. min., per S-12/Detail 4”).
- Re-inspection readiness: “Provide photos of installed hardware prior to covering; schedule re-inspection 24 hours in advance.”
When your fax includes photos, tie them directly: “See Photo 02 (FR-01).” On the image, mirror that tag: “FR-01, C3, L2.” If the GC forwards only the photo, your tag still carries the context.
Handling photo-heavy packets and poor site connectivity
Large photo sets can be tricky over spotty LTE. Strategies that work in the field:
- Batch photos into a single compressed PDF before upload. Many mobile PDFs reduce size while preserving clarity for faxing.
- Prioritize critical images: send the correction notice with three essential photos immediately, then follow with a supplemental fax containing the full set if needed.
- Use grayscale or medium compression when exporting from your mobile editor. Most faxes will print in black and white anyway.
- If the trailer’s fax machine routinely jams on long packets, send two smaller faxes—note “Part 1 of 2” and “Part 2 of 2” on the cover pages.
If connectivity drops mid-send, wait for the explicit failure notice before retrying to avoid duplicates. Delivery receipts from the service help you verify exactly which packet arrived.
A repeatable workflow your department can adopt
A consistent, department-wide process saves inspectors time and reduces contractor confusion. Here’s a lightweight standard operating procedure you can adapt:
Templates: Maintain a single correction notice template and a photo caption/index template in a shared folder. Keep filenames and issue numbering consistent across projects.
Device setup: Ensure each inspector’s phone and tablet can access the shared templates and save exports in PDF. Confirm login access to the browser-based faxing tool on all standard browsers (Safari, Chrome, Firefox, Edge).
Naming and metadata: Adopt a YYYY-MM-DD_Permit#_SiteName pattern for all notices and photo sets. Put permit and address in the cover page every time.
Proofing: Before sending, quickly preview the first and last pages, and one middle page—catching bad rotations, illegible text, or misordered photos.
Receipts and filing: As soon as you receive the fax confirmation, drop the receipt PDF into the project folder and log the send in your inspection journal (date/time, recipient number, page count). If your department rotates inspectors, this record becomes the handoff.
Follow-up: Ask the GC to post the correction notice at the job board. When you return for re-inspection, bring the same packet (digital or printed) so both sides reference identical item numbers.
Common pitfalls—and how to avoid them
Illegible photos: Dark mechanical rooms and crawl spaces make grainy images. Use your phone’s flashlight and lock focus. Take one test shot, zoom in on the screen to confirm clarity before moving on.
Missing page order: Photos first, notice second will confuse recipients who start from the top page. Always lead with cover, then notice, then photos.
Vague captions: “Plumbing issue” helps no one. Include unit/level and a directional cue. A 5-second caption saves a 30-minute phone call later.
Over-redaction or sensitive content: If your project involves areas with privacy concerns, crop photos to the defect and exclude identifiers. Remember this tool does not have a BAA or HIPAA certification.
No record of delivery: Save the delivery receipt immediately. If there’s ever a dispute—“We didn’t receive it”—your receipt, timestamp, and page count are your safety net.
Receiving replies and maintaining the paper trail
Contractors often fax back remedial documentation: revised details, manufacturer installation sheets, or photo proof prior to cover-up. Because you can both send and receive faxes in a browser, you don’t have to return to the office copier to pick these up. When a return fax arrives:
- Download and rename it using the same project convention (e.g., 2026-06-25_Permit18472_GC_Response_FR-01.pdf).
- Cross-reference items addressed (FR-01, FR-02) and file under a “Corrections—Responses” subfolder.
- If the response closes out an item, note it directly on your original correction notice PDF for clear historical linkage.
For departments that publish weekly status summaries, those delivery receipts and response packets give you clean, auditable milestones.
Costs, security, and the practical stuff officials ask about
Cost control: For low-volume inspectors or small jurisdictions, the $4.95 pay-per-fax option can be cheaper than maintaining a dedicated phone line and physical fax. Busy teams or peak months may benefit from the $10/month plan.
Security in transit: Fax transmissions use TLS encryption through the service’s web interface. Still, treat sensitive content carefully. If your agency requires a BAA or formal HIPAA certification, this tool does not provide those.
Browser compatibility: Works in Safari, Chrome, Firefox, and Edge across phones, tablets, and desktops. This flexibility helps when IT policies differ by department-issued device.
Document consistency: Built-in professional cover pages and support for PDFs, Word documents, and images reduce format headaches between field and office.
Proof of delivery: You’ll receive fax confirmation/delivery receipts suitable for records management and audits.
A quick example packet you can model
- Cover page: “Permit 18472 – 2218 W. Ash St. – Rough Framing Inspection – 06/24/2026 – Inspector ID 4035 – Contact: 555-0144”
- Correction notice PDF (2 pages):
- FR-01: Missing hold-down anchors at Grid C3 L2. Code: IBC 2308.6.1. Remedy: Install HDU5 per S-12/Detail 4.
- FR-02: Firestopping incomplete at Unit 407 bath. Code: IBC 714. Remedy: Apply approved sealant to 1 in. annular space, UL System W-L-1054 equivalent.
- HR-01: Handrail at lobby stair measures 38.75 in. Code: IBC 1014. Remedy: Adjust to 34–38 in. range.
- Photo set PDF (3 pages):
- Photo 01 (FR-01) wide shot, label “C3 L2 east shear wall.”
- Photo 02 (FR-01) detail of anchor location with arrow.
- Photo 03 (HR-01) tape measure showing 38.75 in.
- Caption sheet (1 page): mapping each photo to the issue ID and location.
Send the packet, save the delivery receipt, and log the action in the inspection record. When the GC replies with fix photos, file them under the same item IDs and schedule re-inspection.
Final thought
Faxing may feel old-school, but it’s still the official language across many job trailers and municipal records. With a browser-based tool that handles PDFs, Word files, and image uploads—and provides confirmation receipts—you can document corrections with photo evidence from the truck, the sidewalk, or the office without losing a step.
Send your first fax at BestFax.com
Related Posts

How Veterinary Clinics Fax Rabies Certificates to County Offices Without Rejections
Stop rabies certificate rejections. Use this clinic-ready checklist for clean PDFs, correct data, proper cover pages, and verifiable fax delivery to county offices.
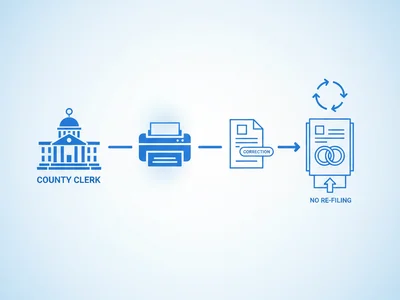
How County Clerks Fax Marriage License Corrections Without Forcing Couples to Re‑File
Clerks can fix minor marriage license errors fast by faxing targeted corrections—no re-filing. Use this step-by-step workflow, templates, and pitfalls to avoid delays.

How Denture Labs Fax Case RX Forms to Dentists Without Delays or HIPAA Risks
Denture labs can fax RX forms from any browser, get delivery receipts, and cut delays—while managing HIPAA risk without a BAA by minimizing PHI and tightening process.