How Veterinary Clinics Fax Rabies Certificates to County Offices Without Rejections

County offices reject rabies certificate faxes for three predictable reasons: bad data, bad scans, and bad transmissions. If you’re a busy veterinary clinic, a single rejection means calling owners back, delaying licenses, and repeating steps your team doesn’t have time for.
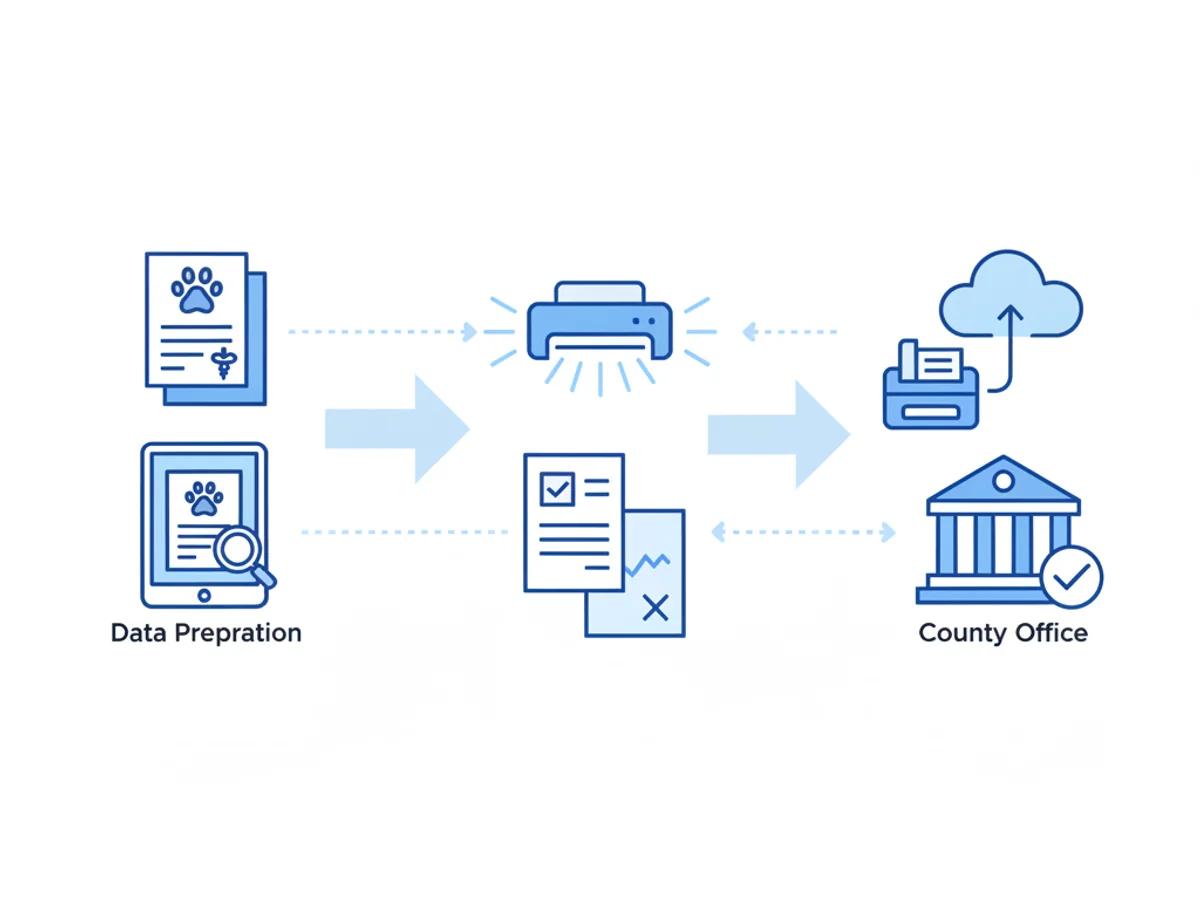
This post is a step-by-step, zero-drama guide to help your staff fax rabies certificates that get accepted the first time. It covers what counties actually look for, how to prep documents (paper or digital), how to transmit via a browser-based fax tool, and how to verify delivery with a written record.
What county reviewers actually check (and reject)
County animal control or licensing teams typically validate four things on a rabies certificate:
- Identity matches application records
- Owner name and address (spelling and current address)
- Pet name and species/breed (if required by your county)
- Microchip number (if listed), tag number if applicable
- Medical details are complete and legible
- Vaccine manufacturer and product name
- Lot/serial number and expiration date
- Vaccination date and duration (1-year vs. 3-year)
- Pet weight and age when required
- Authorized signature and credentials
- Veterinarian’s handwritten or digital signature
- Printed name and license number (or hospital license, depending on the form)
- Clinic contact info
- Clear, readable image and intact form
- No cut-off margins or missing pages
- No gray, muddy scans that obscure the lot number or dates
- Final page count matches what the county expects (e.g., certificate + cover sheet if required)
If any of these are off, reviewers often stamp “incomplete,” “illegible,” or “mismatch,” and you’re re-faxing.
Prepare the certificate so it passes on first review
Treat prep as a 3-minute checklist. Clinics that standardize this see near-zero rejections.
Confirm data before you scan
- Cross-check owner name, pet name, and address with what’s on the county license application. If the owner moved, update the address before sending.
- Verify vaccine details are filled out completely: manufacturer, lot, expiration, date, duration.
- Ensure the veterinarian’s printed name, signature, and license number are visible.
Choose the cleanest document source
- If your practice software exports a PDF rabies certificate, use that PDF—don’t print and re-scan. Direct PDFs are almost never rejected for legibility.
- If you only have paper, use a flatbed scanner, 200–300 DPI, black-and-white or grayscale. Avoid phone camera photos when possible.
Keep margins and orientation intact
- Don’t crop off form borders; some counties visually verify the entire template.
- Rotate to upright portrait or landscape so the text reads normally on screen.
Combine related pages into a single PDF
- If you’re sending the owner’s application plus the rabies certificate, merge into a single file in the correct order. Most county systems save what comes in sequence.
Name your file in a human-readable way
- Example: “RabiesCert_Smith_Bella_2026-05-10.pdf.” If you need to re-send, staff can find it instantly.
Sending via browser-based faxing: practical steps and settings
Many county offices still prefer fax for chain-of-custody and record consistency. If you’re not using a physical fax machine, you can send from any browser—Safari, Chrome, Firefox, Edge—on your computer, tablet, or phone. With BestFax.com, there’s no app required and you can upload PDFs, Word docs, or image files.
Here’s a reliable clinic workflow using this tool:
- Confirm the county’s correct fax number and hours
- Call or check the county website. Some offices process faxes only during business hours; if so, time your send to avoid overnight queue issues.
- Ask if they want a cover page. If yes, clarify what must be on it (e.g., pet name, owner name, return fax, clinic phone).
- Prepare a professional cover page
- Use the included professional cover pages and fill in:
- County office name and fax number
- Clinic name, direct call-back number, and return fax (if receiving)
- Patient: pet name, species, microchip (if used by your county)
- Owner name and address
- Document count: “1 cover + 1 certificate = 2 pages” (or more if needed)
- Reason: “Rabies certificate for license issuance” with the vaccination date
- Add any county reference number if the owner already has an application ID.
- Upload the document
- Prefer PDF export from your practice software. If uploading a scan, ensure it’s 200–300 DPI and under any size limit stated by your county (most faxes handle typical clinic documents easily).
- If you have multiple pages, upload them in the final order you want received.
- Send with a single, clean attempt
- Avoid back-to-back retries within a minute; if a line is busy, wait 2–3 minutes and try again. Multiple rapid attempts sometimes cause duplicate indexing on the county side.
- Save the confirmation/delivery receipt
- The service provides a confirmation once the fax is delivered. Save that PDF receipt to your DVM software or shared drive, attached to the patient record.
- If you later need to prove timeliness or resolve a mismatch, this receipt plus your timestamped PDF is your best evidence.
Pricing note: you can send one-off faxes at $4.95 per fax or subscribe at $10/month if you send frequently. There’s no free trial, so pick based on your volume pattern.
Security note: Fax transmissions use TLS encryption in transit. The service does not offer a BAA and is not formally HIPAA certified. Most counties accept rabies certificates via fax without a BAA requirement, but confirm your local rules—especially if you include any broader medical info beyond the certificate itself.
Avoid the top 7 reasons counties reject faxed rabies certificates
- Missing or unreadable lot number
- Fix: Use direct PDF when possible. If scanned, ensure grayscale at 200–300 DPI; avoid heavy shadows from a phone camera.
- No vet license number or missing signature
- Fix: Add both printed name and license number; sign or apply approved digital signature before sending.
- Owner address doesn’t match application
- Fix: Confirm the owner’s current address in your PMS and the county’s form. Update before faxing.
- Wrong page order
- Fix: Cover page first (if required), then the certificate, then any application pages. Merge into one PDF.
- Cropped edges
- Fix: Leave margins. Review your PDF at 100% zoom and ensure nothing is cut off at the border.
- Duplicate sends causing confusion
- Fix: If a retry is needed, add “Resubmission” and today’s date to the cover note. File both receipts in the chart.
- Faxed to the wrong department
- Fix: Use the licensing-specific fax line. Some counties have separate numbers for animal control, records, and licensing.
Building a repeatable clinic protocol (so any staffer can do it)
Consistency prevents rework. Many clinics adopt a brief SOP that lives in their onboarding binder and next to the front-desk workstation.
Suggested SOP outline:
Data verification checklist (60 seconds)
- Confirm owner/pet identifiers, vaccine manufacturer, lot, expiration, vaccination date, 1- or 3-year designation, vet signature + license number.
File prep (60–90 seconds)
- Export or scan to PDF, correct orientation, merge pages, name file in the standard format.
Fax send steps (2–3 minutes)
- Open your browser on any device, upload PDF, complete professional cover page with patient/owner details and page count, send to the correct county fax number.
Post-send documentation
- Download and attach the fax confirmation/delivery receipt to the patient’s chart. Add a brief note: “Faxed to [County] Licensing, [fax number], [time/date], [staff initials].”
Follow-up rules
- If no confirmation of receipt from the county after X business days (set your clinic standard), call and reference the delivery receipt timestamp. If asked to resubmit, annotate the cover page with “Resubmission per [County Rep Name], [date].”
Pro tip: Train two staff members on this start-to-finish, and keep the county’s current fax number in your PMS under a shared “Referrals/Agencies” contact to avoid outdated sticky notes.
Handling edge cases without drama
Owner name changed recently
- Put “Also known as [previous name]” on the cover page. Counties often cross-reference during transition periods.
Multi-pet households
- Fax separate certificates with unique cover pages unless your county explicitly accepts combined packets. If combined, clearly list each pet on the cover page and keep certificate pages in pet-by-pet order.
Digital signatures
- Many counties accept digitally signed certificates if the vet’s printed name and license number are present. If you’re unsure, call the county; if they require wet signatures, scan the signed paper.
Hard-to-read historic records
- If the prior vaccine card is faint, include a brief cover note: “Historic record attached; primary fields re-entered for legibility.” Then attach a typed summary page with the essential fields. Not all counties will file your summary, but it helps reviewers match data.
Busy signals and failed transmissions
- Retry after 2–3 minutes. If repeated failures occur, call the county to confirm line status. Save each attempt’s log; send once successfully and discard duplicates.
A quick example: from exam room to accepted license
- 10:05 AM: Tech confirms owner address and pet details; prints certificate from PMS for signature.
- 10:10 AM: Vet signs; tech types vet license number legibly.
- 10:12 AM: Front desk exports certificate to PDF; merges with a professional cover page listing owner/pet and page count.
- 10:14 AM: Using browser-based faxing, front desk uploads the PDF, enters county fax number, and sends.
- 10:16 AM: Delivery receipt arrives; staff saves it to the patient chart with a timestamp note.
- Later: If the county calls with a question, the staff references the receipt and the exact document name. No rework.
Honest expectations about security and compliance
- Transmission security: TLS encryption protects fax data in transit.
- Compliance posture: The tool does not offer a BAA and is not formally HIPAA certified. For typical rabies certificates sent to a government office, this is commonly acceptable. If your workflow includes broader PHI or your county imposes additional requirements, confirm your policy before proceeding.
Final checklist your team can print
- Verify owner and pet identifiers match county records
- Confirm vaccine manufacturer, product, lot, expiration, date, duration
- Ensure vet signature, printed name, and license number are present
- Use a clean PDF (export preferred, or 200–300 DPI scan)
- Keep full margins; correct orientation; merge pages in order
- Prepare a professional cover page with page count and contact info
- Send to the correct county fax number; avoid rapid-fire retries
- Save the fax confirmation/delivery receipt to the chart
- If asked to resubmit, label the cover page “Resubmission” with date and contact
Browser-based faxing makes this simple from any computer, tablet, or phone, with professional cover pages and delivery receipts so your team has a paper trail.
Send your first fax at BestFax.com.
Related Posts
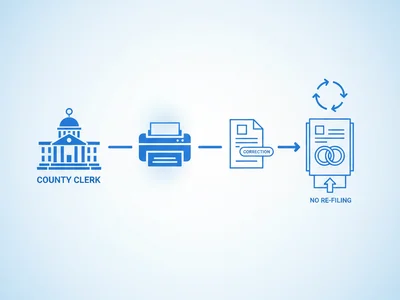
How County Clerks Fax Marriage License Corrections Without Forcing Couples to Re‑File
Clerks can fix minor marriage license errors fast by faxing targeted corrections—no re-filing. Use this step-by-step workflow, templates, and pitfalls to avoid delays.
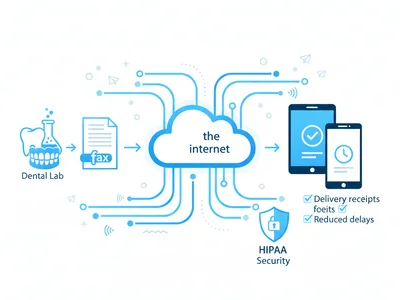
How Denture Labs Fax Case RX Forms to Dentists Without Delays or HIPAA Risks
Denture labs can fax RX forms from any browser, get delivery receipts, and cut delays—while managing HIPAA risk without a BAA by minimizing PHI and tightening process.
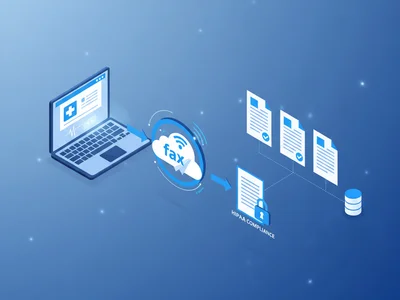
How Home Health Agencies Fax Physician Orders Without Violating HIPAA
A practical guide for home health teams to fax physician orders without violating HIPAA—what to send, how to verify, and how to document—using browser-based faxing wisely.